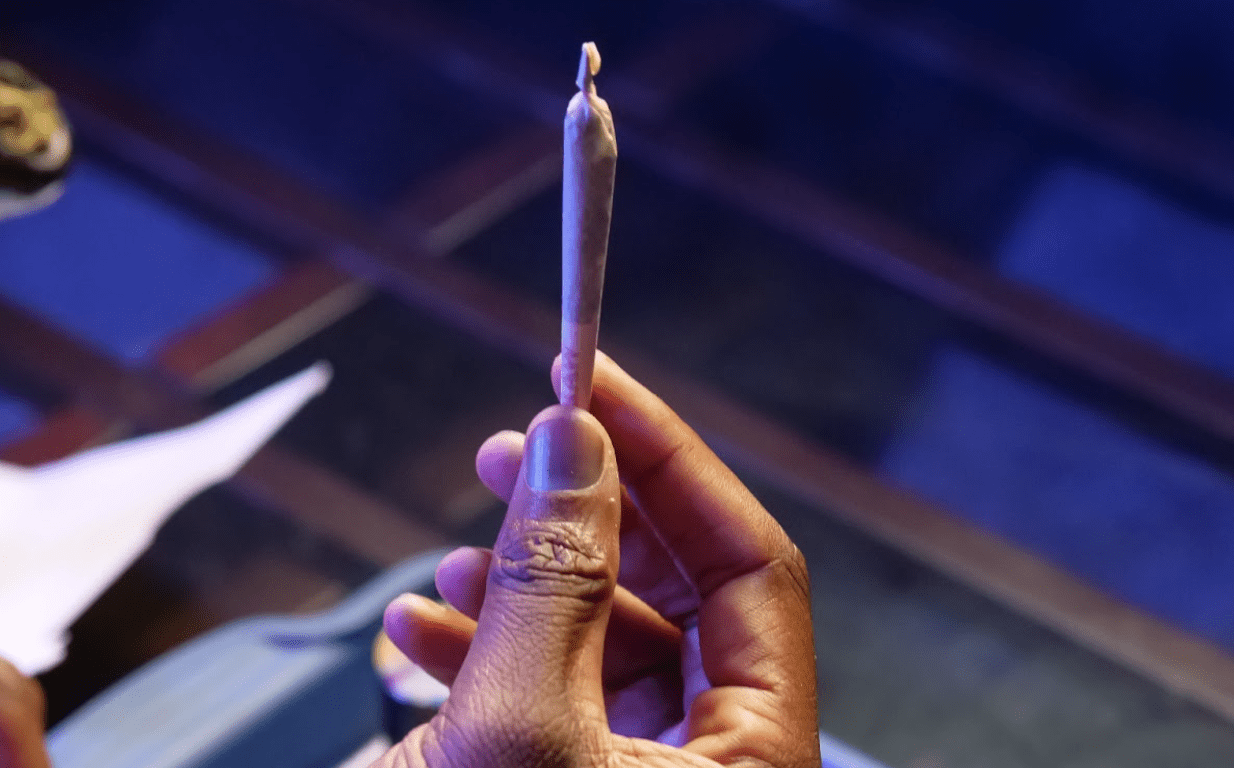
Pre-rolled joints continue to be one of the most popular consumption methods for enjoying cannabis flower. Joints are discreet, convenient, and easy to dispose of making them the perfect solution for smoke sessions on the go or with friends. Although it takes some practice, being able to roll a joint is a skill every smoker should learn.
Rolling a joint may seem like a highly complicated and intricate skill but, follow the steps below and you’ll be rolling your own joints in no time!
How To Roll The Perfect Joint In Six Easy Steps
The perfect joint should burn smooth and evenly from start to finish. Before you start, make sure to collect all the necessary supplies including your favorite strain, a grinder, rolling papers, and something that can be used as a crutch (optional). From there, follow these easy steps and you’ll be rolling up in no time!
Step 1 – Grind/Break Up Your Flower
In order for your joint to burn smoothly, you need to ensure your cannabis flower is evenly ground. A grinder can be used for quick and consistent results, however oftentimes if the flower is dry enough you may be able to break it up by hand.
Step 2- Add A Crutch (Filter) – Optional
When rolling joints, a crutch (or filter) is often added for structural integrity and to help keep loose weed from sticking to your lips/tongue when you smoke. If you don’t have a pre-rolled crutch, you can easily make one with a rectangular piece of paper. Fold the piece accordion-style, by folding one edge of paper back and forth until you have a tiny cylinder with a “W” in the middle. However, this isn’t entirely necessary, and you can continue without one if you prefer.
Step 3 – Fill & Pack The Joint
Grab your rolling paper and place the filter you rolled on one end before folding the rolling paper into a u-shape – kind of like you’re holding a tiny hot dog between your fingers. Start adding your ground up weed to the middle of the rolling paper, spreading it out evenly as you go- if you want to make a cone shaped joint, add less flower to the side with the crutch.
Step 4 – Roll The Paper
Now for the part that takes the most practice. Pinch the edges of the paper together and use your thumbs to slightly roll the paper back and forth, gently compacting the weed as you roll your fingers against your thumbs. The key is to roll it until the joint is tightly packed. It is important to avoid packing it so tight that it doesn’t burn, or too loose leaving air bubbles that cause running.
Step 5 – Tuck, Lick and Seal

Finally, tuck the end of the paper that doesn’t have any glue into the crease between the cannabis and the other side of the paper. Lightly lick along the glue side of the paper and roll to seal the joint. If you want to twist it off, pinch the remaining edge of the paper (opposite the crutch) and twist the tip.
Step 6 – Enjoy
Congratulations, you rolled your first joint! Spark up and enjoy.
Find The Tools To Roll A Joint At Kush21
Like most skills, learning how to roll a joint takes practice. If you’re having trouble with these techniques – or if you don’t want to spend the time learning how to roll a joint by hand – you can buy pre-made cones that are ready to be stuffed with your favorite strains. If all else fails, head into one of our dispensary locations to pick up some pre-rolled joints or for some help from our knowledgeable budtenders.
Ready to practice your joint rolling skills? Stop in-store to pick up everything you need or skip the line by pre-ordering with our online menu.

